Razer’s Ouroboros gaming mouse has been somewhat elusive – being listed on their site for quite a while without actually being available for purchase. It touts extreme form factor customization, wired or wireless play, and two new gaming “clutch triggers”. Does it live up to the hype? I decided to take the plunge and have been using one for about a week now – the verdict: Read on! 😉
Technical Specifications
- Customizable ergonomics to fit all hand sizes and grip-styles
- 8200dpi 4G laser sensor
- Gaming-grade wireless technology with dock
- Razer Synapse 2.0 enabled
- 11 programmable Hyperesponse buttons
- 1000Hz Ultrapolling / 1ms response time
- Up to 200 inches per second / 50g acceleration
- Approximate Size: 122 mm to 137 mm / 4.80″ to 5.39″ (Length) x 71 mm / 2.80″ (Width) x 42 mm / 1.65″ (Height)
- Approximate Weight: 115 g / 0.25 lbs. (without battery) to 135 g / 0.29 lbs. (with battery)
- Battery life: (Approx) 12 hrs (continuous gaming)
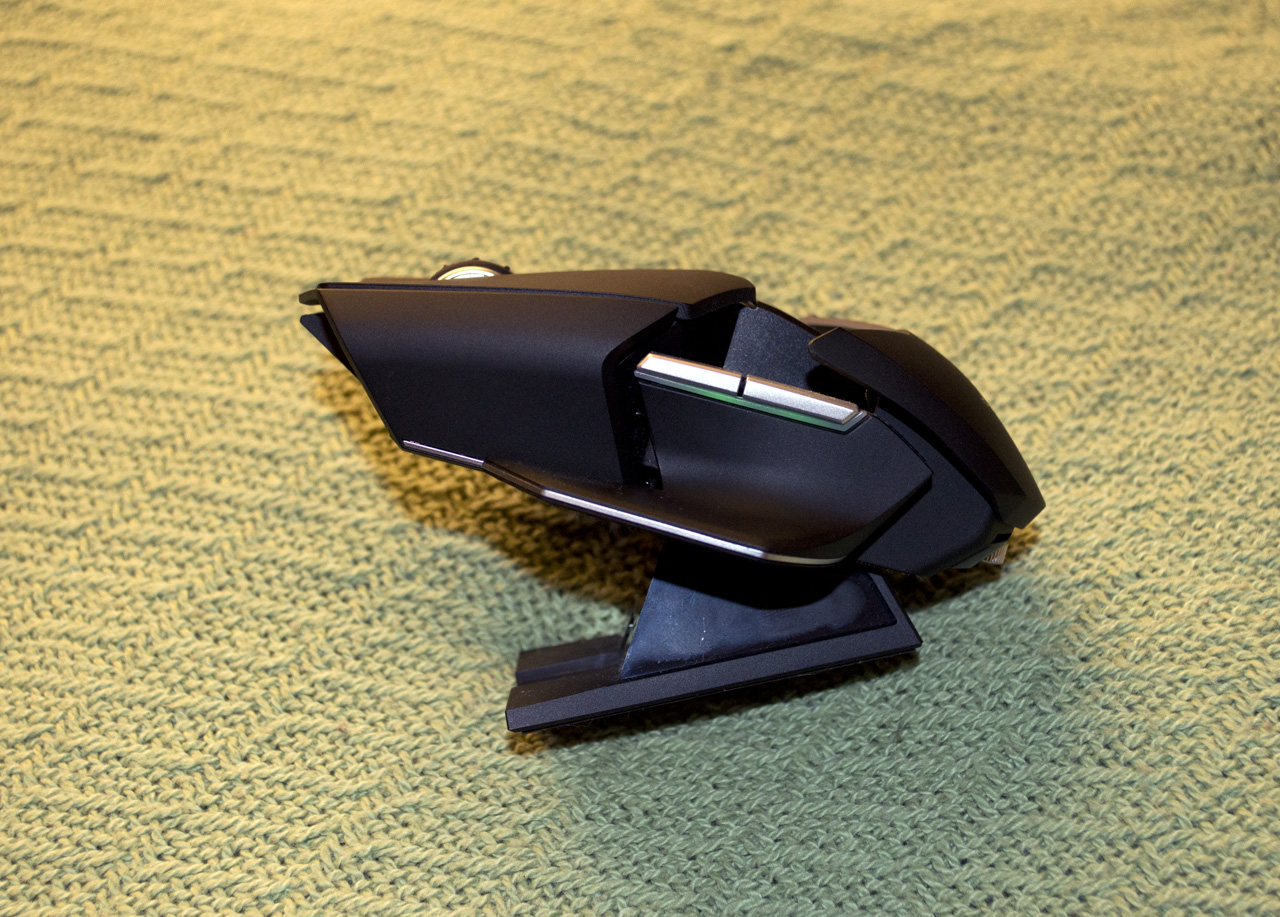
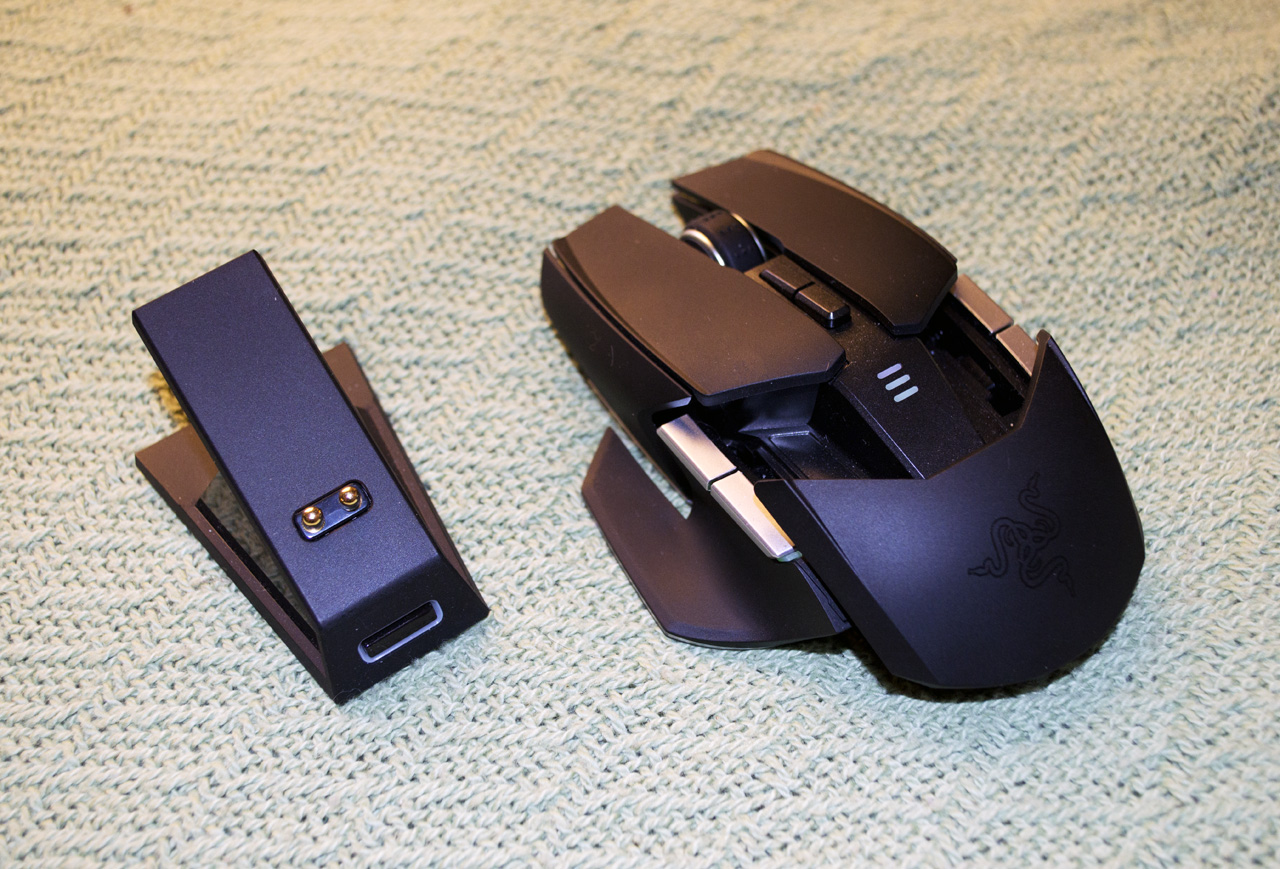
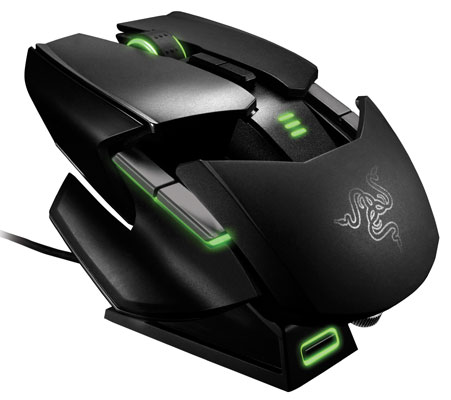
The Razer Ouroboros features a high-end, 8400 dpi 4G laser sensor and full Synapse 2.0 integration. The mouse also features 11 buttons with can be programmed as you desire and a decent heft, weighing about 0.3 lbs when in use. Its design is aggressive and futuristic – looking like some sort of advanced aircraft waiting to launch when docked in its cradle. The overall packaging of the Ouroboros takes inspiration from the Razer Mamba. It comes in a clear box that shows off the mouse as if it were an expensive gemstone or car in a showroom. I love this packaging scheme. Also like the Razer Mamba, the Ouroboros can run both wired and wireless to suit whatever your needs may be. The included cable is thick and braided, so it is almost guaranteed not to fray, no matter how many times it scratches down the edge of a desk or mouse tray. Unlike the Razer Mamba, the mouse and cradle feature some powerful magnets that make it VERY easy to dock without looking – a feature I wish would be included in all wireless mice with docking stations.
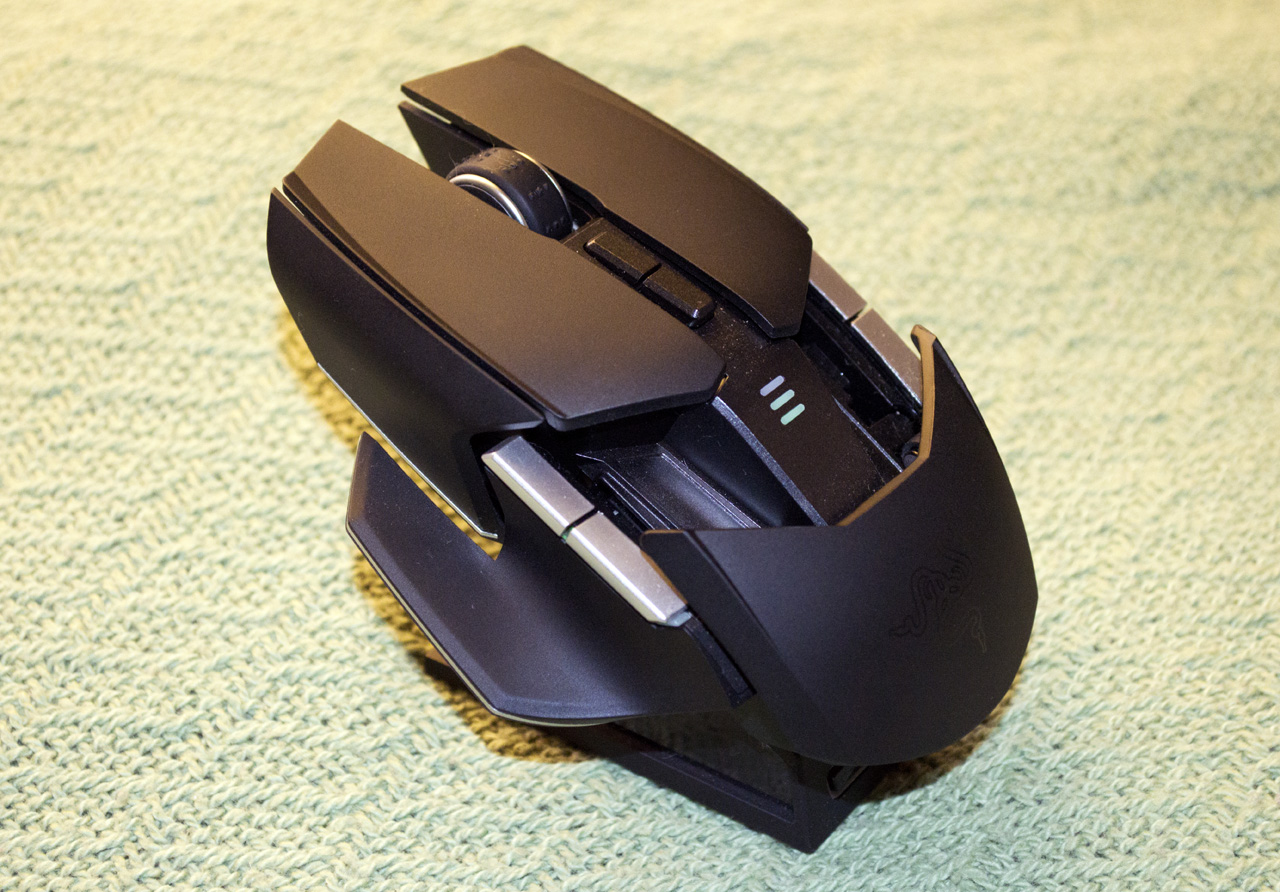
Customizing the fit and shape of the Ouroboros is very simple – which is nice as you don’t need hand tools for every little change. The Ouroboros includes four different side panels – two thumb rests and two thumb grips. These side panels can be changed by simply sliding a toggle to unlock them from the mouse. You attach the ones you want (they are magnetic) and then re-slide the toggle to the “locked” position. The rear panel of the mouse, where one’s palm can rest, can be angled higher and lower, so no matter whether you are a “claw”, “palm”, or “finger-tip” gamer, you can use it with efficiency. This customization is altered by a built-in rotary dial on the bottom-rear of the Ouroboros. Finally, the length of the mouse can be altered to accommodate various hand sizes. Doing this does require a small screwdriver (one is included in the package) that is used to loosed two screws on the underside of the mouse. Once loosened, the back half of the mouse can be extended or retracted. There are three different, pre-set spots where the back half can be re-tightened down, and little hash marks to tell you when to stop so that when screwing the screw back in, you are actually hitting a thread-point. If you do not hit a thread point, the screw will not “bite” and it ends up bending the underside of the mouse in a weird way.
This actually is the biggest issue with the customization of the mouse. The problem is that the hash marks are not quite lined up with where the screw mount points actually are. Mine was about 2mm off – just enough that it was unable to screw into place. I worry this could cause damage to the mouse’s frame – but, once set, you shouldn’t have to change it very much as one’s hand doesn’t alter length often – unless you take some weird spill into a vat of toxic chemicals, mutagenic ooze, etc.
After getting the mouse fit to my hand, I thought it was very comfortable – especially for an ambidextrous design. Usually, I find “ambi-mice” to be a bit uncomfortable when compared to a mouse designed for a specific orientation. Thankfully, the Razer Ouroboros does not come up short in that department – although, I still think that Razer’s most comfortable ambi-mouse was the Boomslang with its most comfortable mouse overall is the Deathadder.
Using the Razer Ouroboros, I played everything from Battlefield 3 to Outlast and even Wizardry 8. The Ouroboros performed without issue and – especially in Battlefield 3, the clutch trigger worked very well. Speaking of the clutch trigger, these are two triggers built into the sides of the mouse. The user pushes in and hold the side panels to utilize the trigger and immediately change the mouse sensor’s dpi setting on-the-fly until released. An example of where this comes in handy can be most readily seen in FPS games like Battlefield and Call of Duty. When going in to use your rifle scope for a long-range shot, you press the clutch and it immediate drops the dpi to manageable levels – allowing you to make more precise movements and corrections. Once you pop your shot and take out your target, you can release the scope and the clutch to return to normal dpi. I did have some trouble using the clutch with the wrist rest side panels attached just because my thumb is on the larger side. Once again, this is an example of Razer taking risks to innovate the way PC gamers interface with their favorite titles.
Overall, the Razer Ouroboros earns a 5 out of 5 stars for its catering to the personal choice of the user and the mouse’s raw performance while gaming.
[easyreview title=”Razer Ouroboros Gaming Mouse Review Score” cat1title=”Overall Score (out of 5)” cat1detail=”” cat1rating=”5″ ]
[button target=”_blank” style=”” class=”btn_blue” link=”http://gamingshogun.com/gamingshogun-rating-system/”]Learn About Our Rating System[/button]